If your store already keeps a product list in Excel, you don't need to type it into a POS one item at a time. With 200 products, typing takes an afternoon. Importing takes a few minutes.
This guide walks through the whole process: preparing the file, importing it, and fixing the rows HuggsPOS can't read.

The video uses a CSV file with renamed headings. HuggsPOS now reads Excel (.xlsx) files directly and recognizes most common headings, so a few of the steps below are shorter than in the video.
Step 1: Check your file
Open your product list and look at the columns. HuggsPOS uses six:
| Column | Required? | Example |
|---|---|---|
| name | Yes | Coke 1.5L |
| price (selling price) | Yes | 87 |
| category | No | Drinks |
| sku (item code or barcode) | No | 4801234567897 |
| stock (quantity on hand) | No | 24 |
| cost (your buying price) | No | 72 |
Only name and price are required. You usually don't have to rename your headings either. HuggsPOS recognizes common ones such as Product Name, Item, SRP, Selling Price, Qty, Quantity, On Hand, Item Code, Barcode, Unit Cost, Puhunan and Presyo. If a heading isn't recognized, rename it to one of the six names above.
The heading row doesn't have to be the very first row. If your file has a title or a store name on top, that's fine.
Include the cost if you have it
The cost column is optional, but it's worth filling in. Without it, HuggsPOS can show your sales but not your profit, because profit is your selling price minus your cost.
Step 2: Clean up the numbers
Most import errors come from the price, stock and cost columns. Before importing:
- Peso signs and thousands commas are fine (₱1,250.50 is read as 1250.50), but words are not. A price like "TBA" or "ask" will be rejected.
- Every item needs a price. Rows without one are skipped with an error.
- Use whole numbers for stock. Leave it blank if you don't know it yet. Blank stock is imported as 0.
Step 3: Import the file
- In HuggsPOS, go to Items → Item List and click Import.
- Click Choose File and pick your .xlsx or .csv file. Older .xls files can't be read. In Excel, use File → Save As → Excel Workbook (.xlsx) first.
- HuggsPOS checks every row before anything is added and shows a preview of the items it's ready to import.
Starting from nothing? Click Template in the same window to download a ready-made file you can fill in.
Step 4: Fix any row errors
If a row has a problem, HuggsPOS lists it, for example "Row 8: invalid price". The row number matches the row in your spreadsheet, so you can go straight to it.
- Go back to your file and fix that row.
- Save the file.
- In HuggsPOS, click Clear, then choose the file again.
When the preview shows the right number of items, click Import [number] Items.
Step 5: Check the result
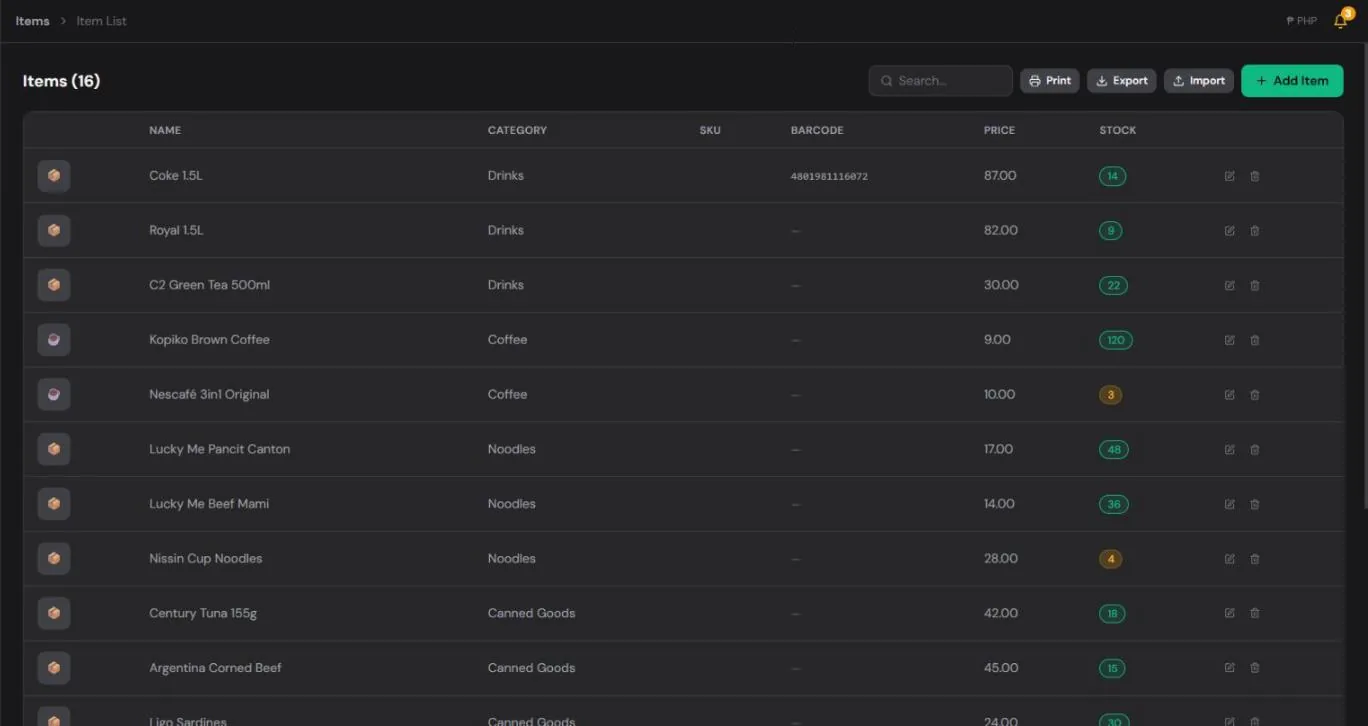
Your items now appear in the item list with their prices, categories, codes and stock, and they're ready to sell. Your categories also show up as tabs on the POS screen, so every item is a tap away.
Spot-check a few items, especially your best-sellers, to make sure the prices and stock are right.
Two things to watch out for
- Import always adds new items. It doesn't update items that are already in HuggsPOS. If you import the same file twice, you'll get every item twice. To change prices later, edit the items in the item list.
- Plan limits are checked first. If your file has more items than your plan allows, HuggsPOS tells you before importing anything, so you never end up with half a list.
Google Sheets or another POS?
- From Google Sheets: use File → Download → Microsoft Excel (.xlsx), then import that file.
- From another POS: most systems can export the product list to Excel or CSV. Export it, check the columns against the table above, and import.